
Installing a septic system in B.C. is a regulated, step-by-step process. It starts with a site assessment to understand your soil and groundwater, because soil type determines how effluent is treated and dispersed. A qualified practitioner digs test pits and runs percolation or hydraulic conductivity tests to check how quickly water moves through the soil and whether there’s bedrock or a high water table nearby. Results from these tests drive the system design (conventional trench, chamber, mound, or pressurized alternatives) and set the size of the dispersal field.
In B.C., only an Authorized Person can design and oversee construction: either a Registered Onsite Wastewater Practitioner (ROWP) for Type 1–2 systems or a professional engineer for more advanced Type 3 systems. Before construction, the practitioner files the design with the local health authority (plans, specs, site plan, and any hydrogeology notes). After the system is built, they must submit a Letter of Certification; operating the system before that sign-off is an offence. Homeowners can participate in the work, but it must be under the supervision of the Authorized Person.

Setbacks and protection zones are non-negotiable. Designs must keep minimum distances from features like wells, property lines, watercourses, and buildings to protect drinking water and prevent surface runoff. Typical guidance includes long setbacks from wells for tanks and even longer for dispersal areas; your exact distances come from the Sewerage System Standard Practice Manual and the site plan your practitioner files. Expect the design to include both a primary field and a reserve area (a future replacement zone) sized for your home’s expected daily flow.
Tanks and components are chosen to match your home’s flow rate and soil conditions. B.C. designs commonly include a watertight septic tank with access risers, effluent filters, and sometimes a dosing or effluent pump (STEP/STEG) to move flow evenly to the field. Venting, inspection ports, and alarmed pump controls make maintenance and troubleshooting straightforward. Your practitioner will size the tank and field based on bedrooms/fixtures and measured soil loading rates, not just a rule of thumb.
Install sequence:
-
Assessment & testing: test pits + perc/hydraulic tests; confirm usable reserve area.
-
Design & filing: stamped plans filed with the health authority by the Authorized Person.
-
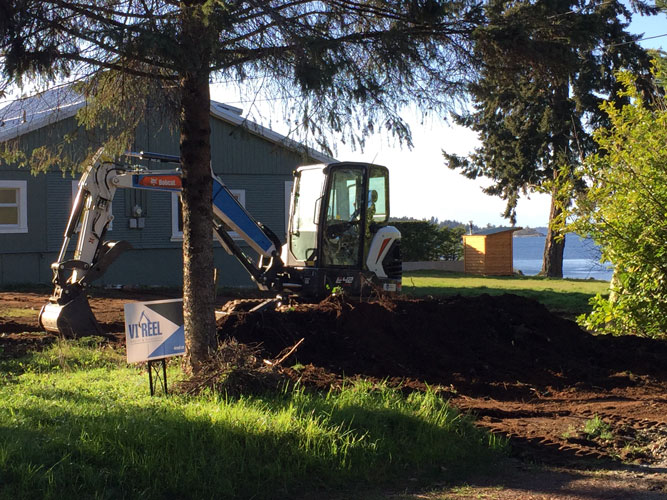
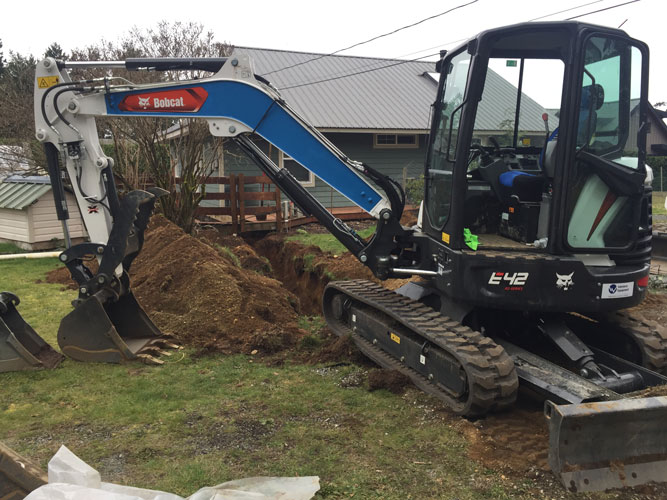
Excavation & placement: tank set on a level, compacted base; watertight connections; distribution piping or chambers installed to grade.
-
Backfill & finish: proper bedding, geotextile where required, and final grading to keep surface water away.
-
Certification & handoff: Letter of Certification filed; you receive as-built drawings and a maintenance plan.
Owner responsibilities after installation are simple but important: pump the tank on a reasonable schedule (often 2–5 years depending on use), clean the effluent filter, keep heavy vehicles off the field, divert roof and surface water away, and avoid chemicals, wipes, or grease that can damage treatment performance. Many designs call for periodic inspections by a ROWP; following the maintenance plan protects your investment and your well.
What affects the timeline and cost? Soil type (slow clay vs fast sand), required setbacks, elevation changes (need for a pump), and access for equipment are the big drivers. Good upfront testing and a clean site plan usually save time during permits and inspections. Cutting corners, undersized fields, poor compaction, or missing setbacks often lead to failures that are far more expensive to fix than doing it right the first time.
Bottom line: A compliant, well-designed septic system is about health and groundwater protection as much as convenience. Work with a qualified practitioner from assessment through certification, follow the maintenance plan, and you’ll have a reliable system for decades.